Line Laser Level Product Applications |
|||||
| >> Line Laser Guide | |||||
|
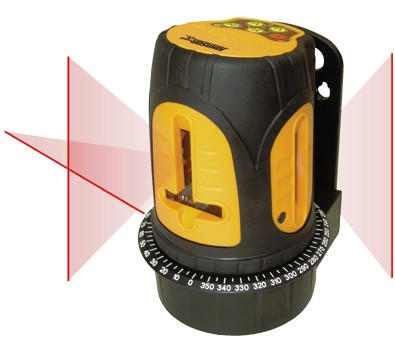
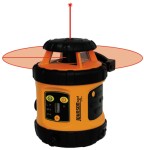
Interior Applications An easy example to understand how a Line Laser Level can be used is to imagine you want to install a chair rail around a room. The hard part about this job is making sure the chair rail is level and the same height from the floor on all four sides of the room. To do this job right, you will need to make several measurements and marks on the walls of both height and level with a tape measure and traditional bubble level (or spirit level). With a Line Laser Level, however, you can place the Line Laser Level in the center of room on a Tripod. When you turn on the Line Laser Level, a beam of light projects 180° horizontally and vertically in the room at the same height. You can then adjust the tripod to get the exact height you need (for chair rails this is typically 1/3 up the wall, or 32"-36" for an 8' ceiling). With the laser beam of light continually projecting a horizontal and vertical line in the room, you can now effortless install your chair rail around the room with confidence it is perfect.
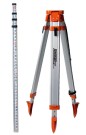
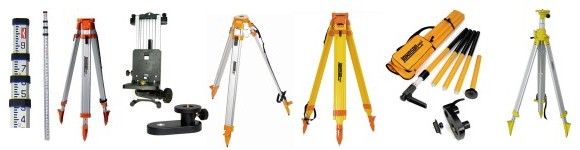
As you stand in your house, look around. Anywhere you find surfaces that need to be level or plumb, you could use a Line Laser Level to help you with the job. Of course, in many project applications, a traditional level will work, but what you may find is often, using a Line Laser Level will turn a two-person job into one-person job and just make the job go a lot faster. And although Johnson bubble levels (or spirit levels) are extremely accurate, their accuracy depends on the person holding the level. With most Line Laser Levels, the leveling is done automatically by the laser level, so you are guaranteed accuracy as long as your Line Laser Level is calibrated correctly. Accessories The most common accessories used with Line Laser Levels indoors are tripods (for elevation), ceiling mounts (to hold the laser on a perimeter such as installation of an acoustical ceiling) and a target (which has reflective tape to help you see the laser more easily). Outdoors, common accessories are tripods, detectors and grade rods. Outdoor Applications
Let's take a simple outdoor application for a Line Laser Level in the pulse mode first. Instead of a chair rail around a room, you are putting in deck in your backyard. The Line Laser Level in the pulse mode can be used to the side of the area for the deck and set up on a tripod, can be used with a Detector to establish the height of the deck's floor. Once completed, the tripod can be elevated to again be used with a Detector to build a level wall or rail around the deck.
Accessories When working outside with a Line Laser Level, there are typically three accessories you will need: a Line Laser Detector or receiver that detects the laser beam when the human eye cannot; a tripod to hold the laser; and for grading projects, a grade rod to measure changes in elevation. The color of the beam for a laser level to be used exclusively outside should only be red. Although Johnson's "GreenBrite" (green beam lasers) are 400% brighter than red, since the beams cannot be seen in sunlight anyway, there is no need to spend the extra money for this feature Features With your Line Laser Level, you may
have some additional features beyond just a 180-degree beam of light
horizontally and vertically. First, some Line Laser Levels have a second and
third vertical line. Some Line Lasers have one horizontal line, one vertical
line, a second 360-degree vertical line with a plumb dot giving four cross
lines.
|
|||||
|
|||||
|
|
|||||

 David Statza / Johnson Level &
Tool
David Statza / Johnson Level &
Tool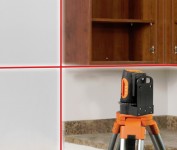 Other
application examples where a Line Laser Level may be useful would be
installing kitchen cabinets where multiple counter-tops and top-cabinets
need to be level around the room; leveling a floor, drop-ceilings
(acoustical ceilings) in a basement wreck room where the ceiling tiles need
to be the same height around the room; and framing a room, again say a
wreck-room where you want your studs to be even across the room so your
drywall will attach evenly. In this last case you would use the vertical
line with the Line Laser Level.
Other
application examples where a Line Laser Level may be useful would be
installing kitchen cabinets where multiple counter-tops and top-cabinets
need to be level around the room; leveling a floor, drop-ceilings
(acoustical ceilings) in a basement wreck room where the ceiling tiles need
to be the same height around the room; and framing a room, again say a
wreck-room where you want your studs to be even across the room so your
drywall will attach evenly. In this last case you would use the vertical
line with the Line Laser Level.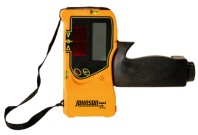


 Add
Add 